How to Remove Red Eye in Photos: Fast Fix (2026 Guide)


Red eye happens when a camera flash reflects off the blood vessels at the back of your eye, showing up as a glowing red pupil in photos. You can remove it instantly using built-in tools like Apple Photos or Photoshop's Red Eye tool, fix it with free online editors, or prevent it altogether using red-eye reduction mode. This guide (updated for 2026 tools and apps) walks you through exactly why it happens, how to stop it before it starts, and how to fix it — on any device.
If you've ever flipped through your camera roll and seen your best friend staring back at you like a demon, you already know the frustration of red eye in photos. One second you've got the perfect shot — great lighting, everyone smiling — and the next second, boom, glowing red pupils ruin the whole thing.
I've been there. More times than I'd like to admit.
The good news? Fixing red eye is one of the easiest photo problems to solve, and in this guide, I'm going to walk you through exactly why it happens, how to prevent it, and — most importantly — how to remove it using tools you probably already have.
Let's get into it.
What Causes the Red Eye Effect in Photos?
Before we jump into fixes, it helps to understand why this happens in the first place. Because honestly, once you know the "why," the "how to fix it" part becomes a lot more intuitive.
Here's the short version: it's not your camera being glitchy. It's basic human biology colliding with basic physics.
According to Yale Scientific Magazine, the red eye effect happens because your pupils dilate in low light to let in more light. When a camera flash suddenly fires, your pupils don't have time to contract. The light shoots straight through your dilated pupil, bounces off the choroid — a blood-vessel-rich layer at the back of your eye — and reflects right back into the camera lens.
That red glow you see? It's literally the reflection of blood vessels inside your eye.
Kind of wild when you think about it.
Why Does It Happen More With Some Cameras Than Others?
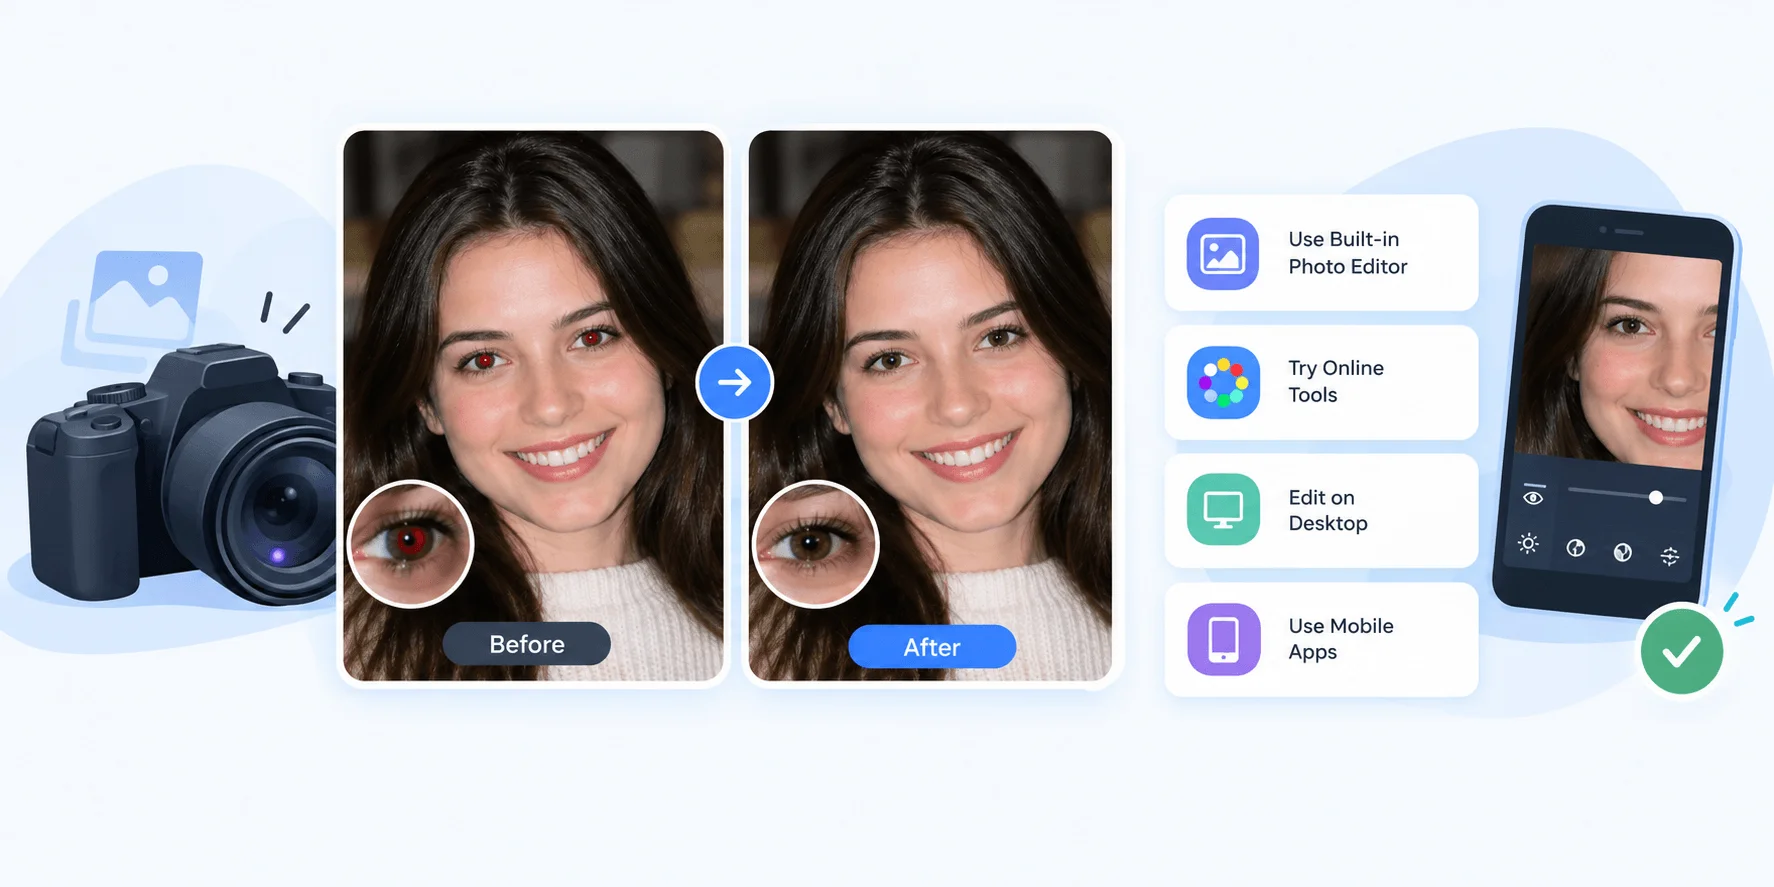
Here's something a lot of people don't realize.
The closer your camera flash is to the lens, the worse the red eye effect gets. This is exactly why compact cameras and smartphones — where the flash sits right next to the lens — tend to produce more dramatic red eye than professional cameras with detachable flash units.
As Photography Mad explains, when the flash is mounted close to the lens, most of that reflected light bounces straight back into the camera. Move the flash farther away, and less of that reflected light makes it back to the lens.
Simple geometry, really.
According to HowStuffWorks, this is also why detaching your flash and holding it a few feet away from the lens can dramatically reduce red eye — the reflection angle changes just enough that the light doesn't bounce straight back at your camera.
Does Eye Color Affect Red Eye?
Yes, actually.
People with lighter eyes — lower melanin levels — tend to show more pronounced red eye because their eyes absorb less light and reflect more of it back. ScienceABC notes that this effect is even more prominent in individuals with very low melanin levels.
So if you've noticed your blue-eyed friend always looks worse in flash photos than your brown-eyed one? That's not a coincidence.
Is Red Eye in Photos Ever a Health Concern?
Quick pause here, because this is important.
Ordinary, matching red eye in both eyes is completely normal and harmless. It's just physics doing its thing.
But there's one thing worth flagging.
According to the Barnet Dulaney Perkins Eye Center, if you notice a white pupil reflex instead of red — or if the reflex is consistently unequal between the two eyes — that's something you should get checked out by an ophthalmologist. It's rare, but it can be an early sign of something more serious.
I'm not a doctor, and neither is this blog post, so if you're seeing anything unusual and recurring, please don't Google it endlessly — go get it checked.
Okay. Moving on to the fun part.
How to Prevent Red Eye Before You Even Take the Photo
Look, prevention is always better than correction. If you can stop red eye from happening in the first place, you save yourself the editing time later.
Here are the tactics that actually work.
1. Use Your Camera's Red Eye Reduction Mode
Most cameras and smartphones come with a built-in red-eye reduction mode. This feature fires the flash twice: once to make your subject's pupils contract, and a second time to actually capture the photo.
It's not foolproof — everyone needs to be looking at the camera during both flashes for it to work well — but it definitely helps.
2. Turn On the Room Lights
This one's stupidly simple but genuinely effective.
Brighter ambient light means smaller pupils, which means less red eye. If you're shooting indoors, flip on every light switch you can find before you start snapping photos.
3. Bounce or Diffuse Your Flash
If you're using an external flash, try bouncing it off a ceiling or wall instead of firing it directly at your subject. A diffused flash softens the light and reduces the direct reflection that causes red eye in the first place.
4. Ask People to Look Slightly Off-Camera
Red eye only happens when someone is looking directly into the lens. Photography Mad points out that photographing people at a slight angle — like when they're mid-laugh or glancing at someone beside them — practically eliminates the effect.
5. Move Your Flash Away From the Lens
If you're using a detachable flash unit, hold it a few inches or feet away from the camera. As mentioned earlier, this changes the reflection angle enough to dramatically cut down on red eye.
Now, even with all of this, sometimes red eye still sneaks through. That's where photo editing comes in.
How to Remove Red Eye in Photos (Step-by-Step)
Alright, here's the part you've probably been waiting for.
I'm going to break this down by device and software, because honestly, the best tool for you depends on what you're already using. Here's a quick side-by-side before we dive into the steps:
Tool | Platform | Cost | Best For | Skill Level |
|---|---|---|---|---|
Apple Photos | Mac / iPhone | Free (built-in) | Quick auto-fix on Apple devices | Beginner |
Windows Photo Gallery / Photoscape / Paint.net | Windows | Free | Simple manual selection fix | Beginner |
Photoshop | Mac / Windows | Paid (subscription) | Precise, professional-grade control | Intermediate |
Fotor | Web browser | Free (with paid tiers) | Quick fixes with no software install | Beginner |
YouCam Makeup / Evoto | iOS / Android / Web | Free–Paid | One-tap AI auto-detection, batch editing | Beginner |
How to Remove Red Eye on an iPhone or Mac
Apple actually built a solid red-eye removal tool right into the Photos app. Here's how to use it, straight from Apple's official support page:
Open the Photos app on your Mac.
Double-click the photo you want to fix, then click Edit.
Click Adjust, then select Red-Eye.
Click Auto — Photos will automatically detect and remove red eye from faces in the image.
If any red eye remains, drag the Size slider so the correction circle matches the red area, then click directly on the red pupil.
Pretty painless, right?
How to Remove Red Eye With Windows Photo Gallery
If you're on a PC, Digital Unite's guide breaks this down nicely:
Open Windows Photo Gallery and double-click the image.
Click Edit at the top of the screen.
Find and click the Red Eye button.
Drag your cursor around the affected eye or eyes to draw a selection box.
Release the mouse — Windows will automatically apply the correction.
Other free tools like Photoscape and Paint.net follow a very similar workflow, so once you've done this once, you'll recognize the pattern anywhere.
How to Remove Red Eye in Photoshop
For more control — especially with tricky lighting or partial red eye — Adobe's Photoshop guide is the gold standard.
Here's the process:
Select the Red Eye tool (it's grouped with the Spot Healing Brush).
In the Options bar, adjust the Pupil Size — this controls how large an area gets corrected.
Adjust the Darken Amount — this controls how dark the corrected pupil appears.
Click directly on the red or white reflection inside the pupil to apply the fix.
The beauty of Photoshop's approach is the level of control you get. You're not just slapping an auto-fix on it — you're fine-tuning the exact size and darkness so it looks natural, not like a black smudge over someone's eye. If you're already cleaning up portraits this closely, it's worth also learning how to remove the background from an image — a common next step once the eyes are fixed and you want a fully polished shot.
Using Free Online Red Eye Removal Tools
Don't want to download anything? Totally fair. There are solid online photo editors that handle this in your browser.
Fotor's red eye remover, for example, works like this:
Go to Fotor and click Edit a Photo.
Upload your image.
Find the Beauty panel and click Red Eye Removal.
Adjust the brush size to match the red area, then click to remove it.
Download your corrected photo.
It's fast, it's free, and you don't need any editing experience.
Fixing Red Eye With AI-Powered Mobile Apps
This is honestly where things have gotten really impressive lately.
Apps like YouCam Makeup and Evoto use AI face-detecting technology to automatically spot red eye and correct it — often in a single tap, no manual selection required.
Evoto in particular is built for batch editing, so if you've got a whole folder of red-eye photos from one event, you can knock them all out at once instead of fixing them one by one. If you're curious how far AI photo tools have come in general, our roundup of the best free AI image generators in 2026 covers a few more options worth trying.
What About Pet Eye? (It's Not the Same Thing)
Here's something most red-eye guides completely skip over.
Pets don't get red eye the way humans do. Instead, they get eyeshine — usually a green, yellow, or blue glow — because of a reflective structure behind their retina called the tapetum lucidum.
This matters because most automatic red-eye tools are trained specifically to detect red human pupils. They often won't catch green or yellow pet eye at all.
Thankfully, some tools — like Adobe Lightroom — include a dedicated Pet Eye correction mode separate from the standard human red-eye tool, according to Wondershare Filmora's comparison guide. If your go-to editor doesn't have this, you may need to manually select the glowing area and darken it using a general retouching brush instead of the auto red-eye fix.
Frequently Asked Questions
What causes red eye in photos?
Red eye happens when a camera flash reflects off the choroid, the blood-vessel-rich layer at the back of your eye, and bounces straight back into the lens. It's most common in low light because your pupils dilate to let in more light.
How do I stop red eye from happening in the first place?
Use your camera's red-eye reduction mode, turn on more ambient light, bounce or diffuse your flash, or ask your subject to look slightly away from the lens instead of straight into it.
Can I remove red eye without Photoshop?
Yes. Apple Photos, Windows Photo Gallery, free web tools like Fotor, and AI mobile apps like YouCam Makeup or Evoto can all fix red eye without any Photoshop experience.
Why don't red-eye tools work on my pet's photos?
Pets show eyeshine (usually green or yellow) instead of true red eye, because of a reflective structure in their eyes called the tapetum lucidum. Most auto red-eye tools are built only to detect red human pupils, so you'll need a tool with a dedicated Pet Eye mode, like Lightroom, or a manual retouching brush.
Is red eye in photos a sign of an eye problem?
Usually no — ordinary, matching red eye in both eyes is harmless. However, a white pupil reflex or an uneven reflex between the two eyes should be checked by an ophthalmologist, as it can occasionally signal an underlying issue.
Final Thoughts
So, here's the deal.
Red eye isn't some mysterious camera glitch — it's just light bouncing off blood vessels at the back of your eye, made worse by close-mounted flashes and dilated pupils in low light. Once you understand the "why," both prevention and correction become a lot more straightforward.
If you can, prevent it at the source: better lighting, red-eye reduction mode, or a bounced flash. But if it sneaks through anyway, you've now got a full toolkit — from Apple Photos to Photoshop to free online editors — to fix it in seconds.
And hey, if you're dealing with a glowing-eyed pet photo instead of a human one? Now you know why your normal red-eye tool isn't cutting it, and what to reach for instead.
Go rescue those photos. They deserve it.
Written by
Alex
Creative blogger sharing insights, stories, and fresh ideas.