How to Scan to Email: Free Step-by-Step Guide (2026)

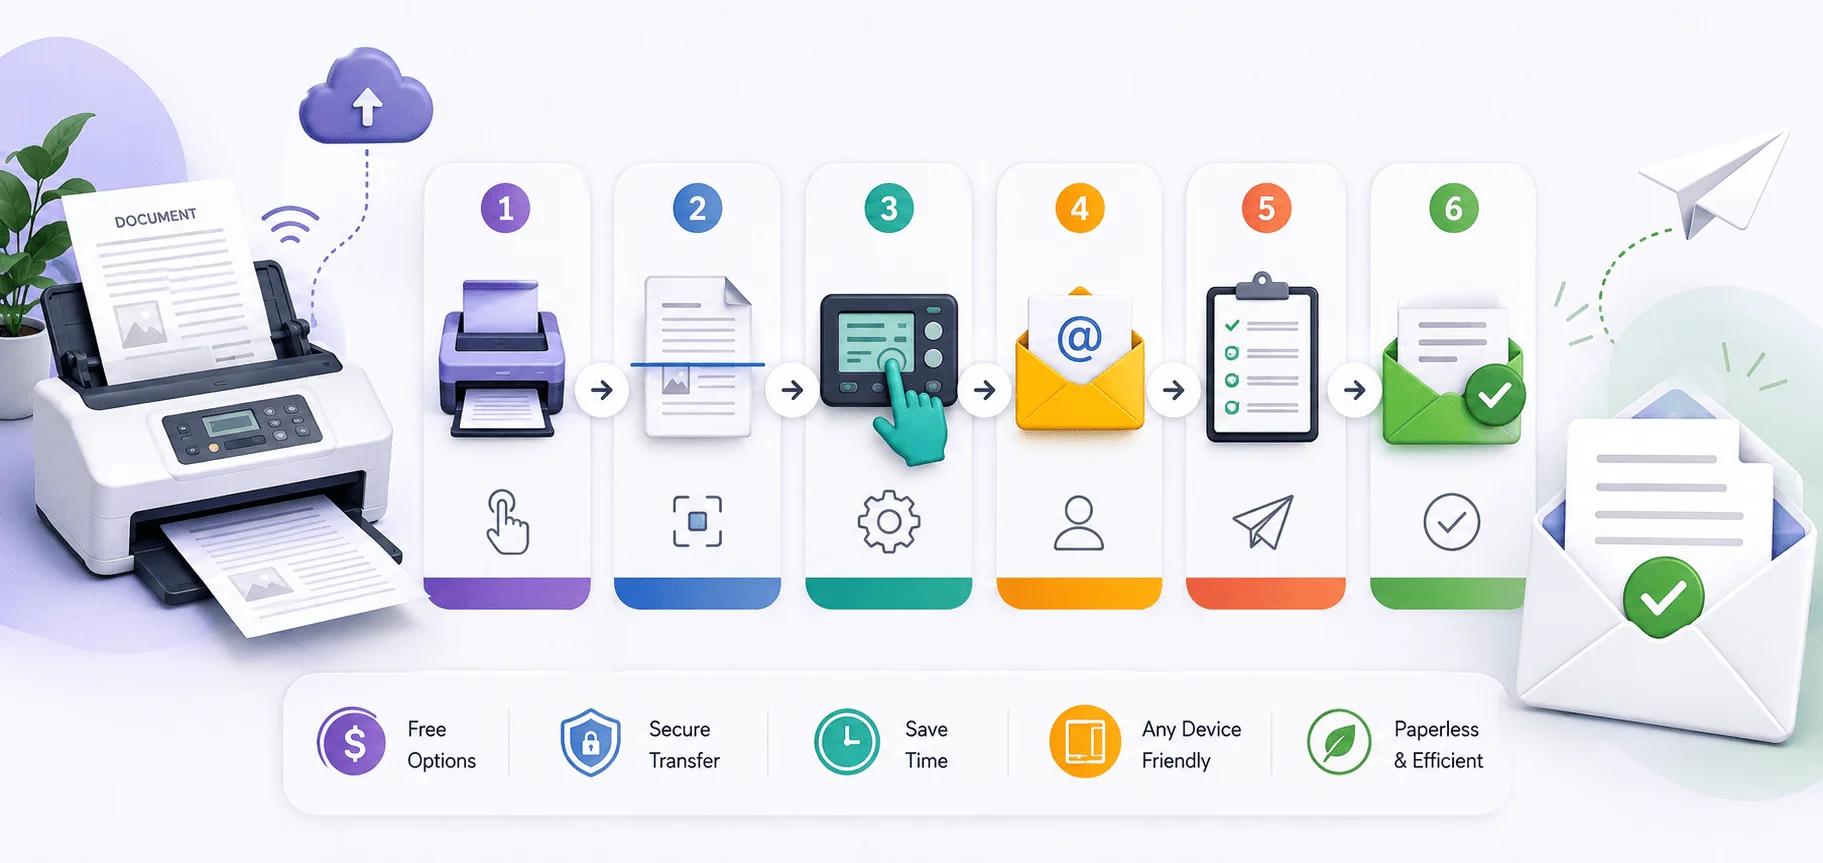
Scan to email means converting a paper document into a digital file and sending it directly to an inbox. You can do this three ways: with your smartphone camera and a scanning app, with a computer connected to a flatbed scanner, or with your office printer's built-in scan-to-email feature over SMTP. The fastest method takes under a minute using your phone. The most reliable method for regular office use is setting up your printer's SMTP connection once, then scanning with a single button press from then on.
This guide walks you through all three methods, plus how to fix scan to email when it stops working.
Quick Comparison: Which Method Should You Use?
Not all scanning methods fit every situation. Here's how they stack up.
Method | Setup Time | Cost | Best For |
|---|---|---|---|
Smartphone app | None | Free | One-off scans, receipts, quick sends |
Computer + flatbed scanner | Minimal | Free (with existing hardware) | High-res scans, photos, archival documents |
Office printer (SMTP) | 10-15 minutes (one time) | Free (uses existing printer) | Recurring office scanning, teams |
If you scan something once a month, use your phone. If your team scans documents daily, the printer setup pays for itself after the second use.
Why Scan to Email Still Trips People Up
You'd think something this common would be foolproof by now. It's not.
Printers get moved to new networks and forget their settings. Email providers change their security requirements without telling anyone. And half the time, nobody wrote down the SMTP settings from the last time IT set it up.
Scan to email is a core part of any real paperless workflow, since it eliminates the manual step of scanning, saving locally, then attaching. That convenience only holds up when the setup behind it is solid, which is exactly what this guide fixes. If you're troubleshooting email delivery issues more broadly, see our guide to AOL Mail
Method 1: Scan to Email From Your Smartphone
This is the fastest method by a mile. You don't need a scanner or SMTP settings. Just your phone and decent lighting.
Step-by-Step: iPhone
Open the Notes app
Tap the camera icon, then choose "Scan Documents"
Place your paper on a flat surface with good lighting
Let the app auto-detect the edges, or adjust manually if it misses
Tap "Keep Scan" to add more pages to the same file
Save as a PDF
Tap the share icon, choose Mail, add a recipient, and send
Step-by-Step: Android
Android users can do the same thing through Google Drive:
Open Google Drive and tap the + icon
Select "Scan"
Capture your document with the camera
Crop, rotate, or enhance as needed
Save the file to your Drive
Open the saved PDF and share it via email
Or Use a Dedicated Scanning App
If you scan often, a purpose-built app like iScanner is worth having installed. These apps go further than a native camera app. They straighten crooked pages, strip out shadows, and sharpen faded text, which matters if you're scanning receipts, contracts, or fine print.
For casual, one-off scans, your phone's built-in scanner is enough. For frequent scanning where quality matters, invoices, legal paperwork, ID documents, a dedicated app earns its place on your home screen. If your phone starts running slow from repeated scanning and app use, our guide to clearing cache on iPhone can help.
Method 2: Scan to Email From a Computer
Got a flatbed scanner or an all-in-one printer connected to your desktop? Here's your path. Windows and Mac each ship with a built-in tool, so you don't need to install anything extra.
On Windows
Open Windows Scan (search for it in your Start menu)
Select your scanner from the device list
Choose your file format (PDF for documents, JPEG for photos)
Set your resolution: 200-300 DPI is enough for text documents
Click Scan
Open your email client, attach the file manually, and send
On Mac
Open Image Capture (pre-installed)
Select your scanner
Choose your save location and file type
Click Scan
Attach the resulting file to a new email in Mail, Gmail, or Outlook. If you're working on a Mac regularly, our Mac keyboard shortcuts guide can speed up the rest of your workflow too."
Watch your file size here. A high-resolution scan of a multi-page document can balloon fast, and some email providers cap attachments around 25MB. If that happens, compress the PDF or share it via a cloud storage link instead.
Method 3: Scan to Email From an Office Printer
This is where most confusion lives, so let's slow down.
Multifunction printers from HP, Canon, Brother, Xerox, and Ricoh all offer a built-in scan-to-email feature using SMTP. Once configured correctly, it's one button and done. The tricky part is that configuration step.
What You Need Before You Start
Your SMTP server address (e.g.,
smtp.office365.comfor Microsoft 365,smtp.gmail.comfor Gmail)The correct SMTP port (587 with STARTTLS is standard; 465 or 25 are common alternatives)
A username and password, or an app-specific password if your provider requires one
Confirmation of whether authentication is required
Not sure where to find your provider's SMTP details? Search "[provider name] SMTP server," since most major providers publish this publicly.
Step-by-Step: Setting Up Scan to Email on an MFP
Locate the "Scan" option on the printer's touchscreen
Select "Scan to Email"
Log in with your printer credentials if prompted
Navigate to the email/SMTP setup menu (usually under Network or Digital Sending settings)
Enter your SMTP server, port, and encryption type (TLS or STARTTLS)
Enter the authentication username and password
Set your "From" address (the sender address recipients will see)
Save and run a test scan to confirm the connection
Once that's done, scanning becomes a two-tap job every time. Load the document, hit Scan to Email, type the recipient, done.
Fixing Scan to Email When It Breaks
If you've seen an error like "SMTP authentication error" or "cannot connect to server," you're not alone. This is one of the most commonly searched printer issues out there. Here's the fix list, ordered by likelihood.
Wrong SMTP server name. Providers change these occasionally. Look up current settings instead of trusting an old saved config.
Blocked port. Some networks block outgoing SMTP traffic on certain ports. Try 587 first, then 465 or 2525 as backups.
Expired or missing app password. If your email provider requires two-factor authentication, you likely need a separate app-specific password, not your regular login password.
DNS misconfiguration. A printer can be fully connected to the network yet still fail to scan-to-email because it can't resolve the SMTP server's hostname. This usually happens when a printer has a static IP but no DNS server entered.
Outdated firmware. Microsoft dropped support for TLS 1.0 and 1.1 in Office 365 in January 2022, which broke scan-to-email on a lot of older devices overnight. If your printer hasn't been updated since, this is a likely culprit.
Encryption mismatch. If your printer is set to "None" but your provider requires TLS, the connection fails silently or with a vague error.
Work through this list in order. Most of the time, it's the SMTP settings or the port.
Best Practices for Better Scans
Use meaningful filenames. "Scan001.pdf" tells nobody anything. "Invoice_March2026.pdf" tells them everything.
Keep resolution reasonable. 200-300 DPI is plenty for readable text; higher just bloats file size with no real benefit.
Combine multi-page documents into a single PDF instead of sending several separate files.
Password-protect sensitive scans. For anything with personal or financial information, encrypt the PDF before it leaves your device.
Don't rely on scan-to-email tracking. A printer-generated scan won't confirm delivery the way a normal sent email does. For anything important, follow up with a quick call or text to confirm it arrived.
Common Mistakes to Avoid
Sending scans over an unsecured network is a big one. Printers left on default settings can transmit documents in plain text, meaning anyone on that shared network could technically intercept them. Confirm encryption is enabled before scanning anything sensitive.
Assuming the default resolution works for everything is another. It's fine for a receipt. It's not fine for a signature-heavy legal contract where clarity matters.
And the most common one: not testing the setup before you actually need it. Configure scan to email, then send yourself a test scan immediately, rather than finding out it's broken when you're in a rush.
FAQ: Scan to Email
Is scan to email secure?
It can be, but only if TLS or STARTTLS encryption is enabled on the printer. Without it, scans can transmit in plain text and be read by anyone on the same network.
What file format should I use for scanned documents?
PDF, almost always. It preserves formatting, supports multiple pages in one file, and opens on virtually any device without conversion.
Why does my printer say "SMTP authentication error"?
Usually because the username or password is wrong, an app-specific password has expired, or the email provider's security settings changed and the printer's stored credentials no longer match.
Can I scan to email without a printer?
Yes. Your smartphone camera, combined with a built-in scanner (Notes on iPhone, Google Drive on Android) or a dedicated scanning app, handles it without any physical scanner involved.
What's the difference between scanning with a printer versus a phone?
A printer's built-in feature needs a one-time setup, then a single button press every time after. Scanning with your phone needs zero setup but requires a few manual steps, capture, save, attach, send, every single time.
What SMTP port should I use for scan to email?
Port 587 with STARTTLS encryption is the standard choice for most modern email providers, including Gmail and Microsoft 365. Ports 465 and 25 are common fallback options if 587 is blocked on your network.
Wrapping Up
Scan to email isn't complicated once you know which path fits your situation.
Quick, one-off scan? Grab your phone. Office document that needs to go out regularly? Set up your printer's SMTP feature once and never think about it again. Working from a desktop with a flatbed scanner? Windows Scan or Image Capture has you covered.
Pick the method that matches how often you actually scan, get it configured properly the first time, and you won't have to think twice about it again.
Written by
Alex
Creative blogger sharing insights, stories, and fresh ideas.